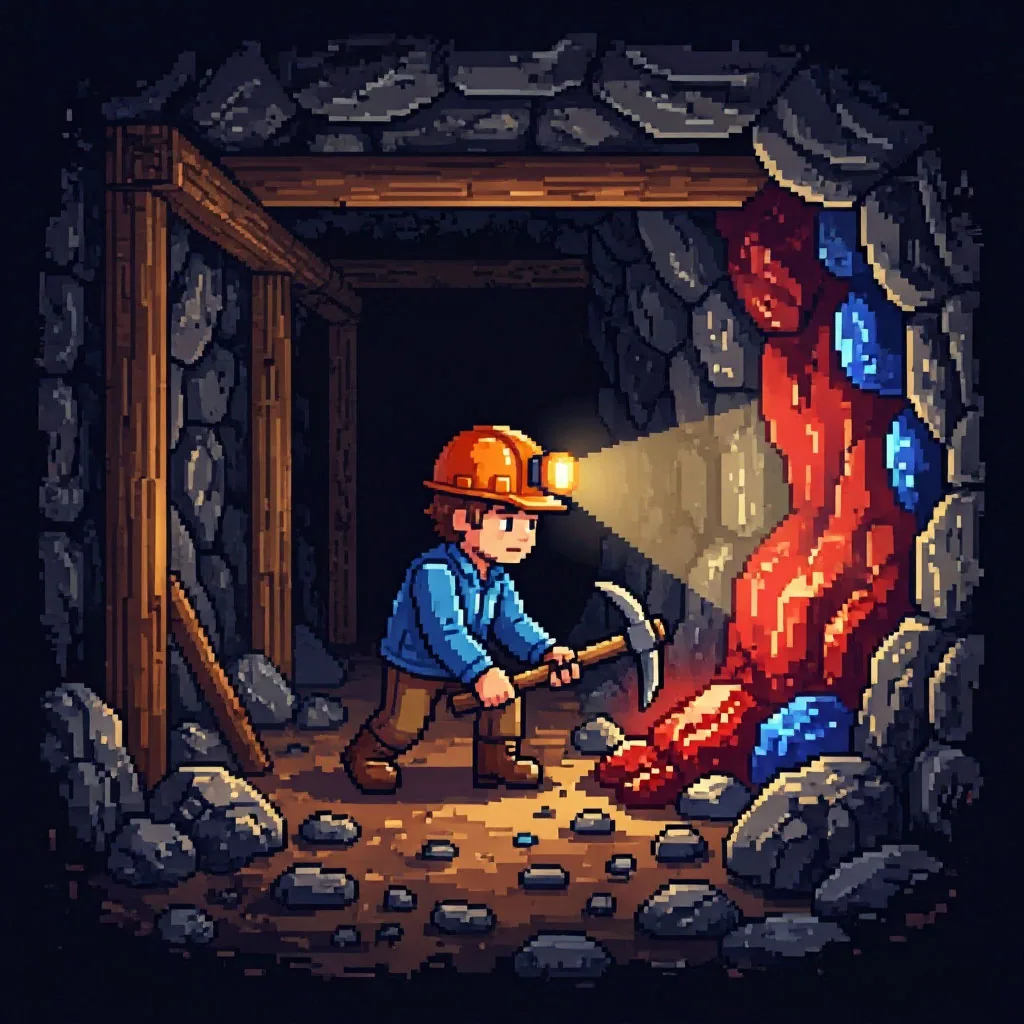

Master mining in Stardew Valley with this comprehensive tactical guide. Discover optimal ore distribution in the regular Mines, efficient Skull Cavern survival strategies, essential tool upgrades, and the best food buffs to maximize your resource gathering, energy management, and daily profits.
Contents
Full Description
The Regular Mines: Floor-by-Floor Strategy
The Mines (floors 1 to 120) provide a structured progression of resources and challenges. Understanding the ore distribution is critical for planning your mining trips.
Ore Tiers and Elevators
The game guarantees an elevator every 5 floors and a loot chest every 10 floors. Ore nodes appear in distinct tiers: - Copper: Floors 1–39 - Iron: Floors 40–79 - Gold: Floors 80–119 - Iridium: Floor 120 and below (in the Skull Cavern)
When targeting a specific metal, head directly to its designated floor range. Breaking nodes on higher floors than necessary wastes energy and time. Always prioritize breaking rocks in a 3x3 grid pattern if you suspect a hidden staircase, as this maximizes your chances of finding one.
Skull Cavern: The End-Game Resource Hub
Located in the Calico Desert, the Skull Cavern offers infinite floors, dense clusters of Iridium nodes, and significantly deadlier enemies. Unlike the regular Mines, there are no elevators, making descent speed your absolute priority.
Core Survival Tactics
- Staircases: Crafting hundreds of Stone Stairs is the most reliable method to bypass difficult floors and reach level 100+ quickly, where Iridium density peaks.
- Bombs: Mega Bombs are essential. They clear large areas of rock instantly, revealing nodes and staircases while saving massive amounts of energy compared to using a pickaxe.
- Enemy Management: Serpents are fast and deal heavy damage; keep moving. Mummies cannot be knocked back and will revive unless hit with a Crystal or struck again after falling.
Tool Upgrades and Professions
Your Pickaxe is your most important tool. Upgrading it at the Blacksmith reduces the number of hits required to break a node and drastically lowers energy consumption. An Iridium Pickaxe breaks most standard nodes in a single hit, which is mandatory for efficient deep Skull Cavern runs.
Your skill choices at levels 5 and 10 permanently shape your mining economy:
| Skill Level | Profession Choice | Primary Benefit |
|---|---|---|
| Level 5 | Miner | +1 ore per node (best for raw material gathering) |
| Level 5 | Geologist | Chance for gems to appear in pairs (best for geode cracking) |
| Level 10 | Blacksmith | Metal bars are worth 50% more (pairs with Miner) |
| Level 10 | Prospector | 50% chance for coal to drop (useful for early-game fuel) |
| Level 10 | Excavator | Doubles the chance to find geodes (pairs with Geologist) |
| Level 10 | Gemologist | Gems are worth 30% more (best for late-game profit) |
Efficiency and Energy Management
Mining is an energy-intensive activity. Never descend into the deep levels without consuming high-tier food.
- Miner’s Treat: Grants +3 Mining level for 5 minutes, effectively giving you a temporary Iridium Pickaxe if yours is lower tier.
- Spicy Eel: Provides +1 Luck and +1 Speed. Luck increases the chance of finding staircases and geodes, while speed helps you dodge enemy attacks.
- Crab Cakes: Restore a massive amount of energy and provide a minor speed boost, ideal for sustained grinding sessions.
Always keep your inventory organized. Leave space for geodes, rare drops like Prismatic Shards, and the occasional treasure chest. If your health drops critically low, eat immediately; passing out in the Mines results in lost items and a hefty gold penalty from Joja Corp or the healer

Comments 0
No comments yet — be the first.
Log in or sign up to leave a comment.