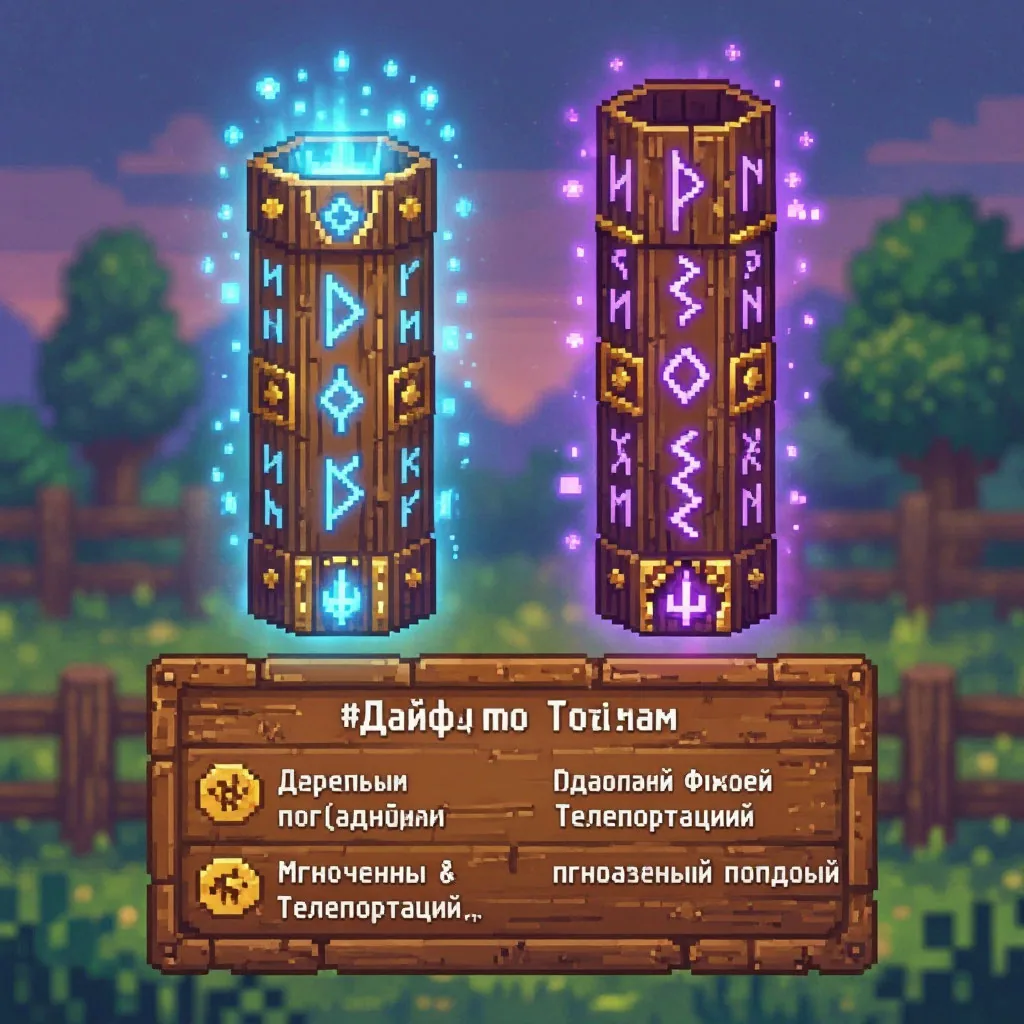

Master the use of totems in Stardew Valley. Learn how to craft Rain Totems to optimize crop watering, utilize Warp Totems for instant travel to the Beach, Mountains, or Farm, and discover the Ginger Island Totem to save valuable in-game time and energy.
Contents
Full Description
The Power of Totems
Totems are specialized, single-use consumable items that manipulate time, weather, or spatial positioning. While they require specific resources to craft, their ability to bypass travel time or force favorable weather makes them indispensable for optimizing daily routines and maximizing late-game efficiency.
The Rain Totem: Weather Control
The Rain Totem is arguably the most strategically valuable totem in the game. When used, it guarantees rain for the entire next day, regardless of the TV forecast. This provides a free day of automated crop watering, allowing you to dedicate 100% of your energy to mining, foraging, or socializing.
Crafting and Restrictions
Unlocked at Foraging Level 9, the Rain Totem requires: - 1 Hardwood - 1 Truffle Oil - 5 Pine Tar
Critical Limitations: The Rain Totem will fail and be consumed without effect if used on: 1. The day before a Festival. 2. The 1st day of any season (Day of the Moon). 3. Any day during Winter. 4. The day before the Day of the Moon in Winter.
Always verify the calendar before activating this item to avoid wasting valuable Truffle Oil.
Warp Totems: Instant Transportation
Warp Totems instantly teleport the player to a specific location upon use, consuming the item and a small amount of energy. They are invaluable for cutting down travel time, especially when you need to make a quick delivery or catch a time-sensitive fish.
- Warp Totem: Beach (Foraging Level 6): Teleports you to the sandy shore near Willy’s shop. Ideal for quick ocean fishing runs or checking tide pools.
- Recipe: 1 Hardwood, 1 Coral, 10 Fiber.
- Warp Totem: Mountains (Foraging Level 6): Teleports you to the mountain area near the Mines and Adventurer’s Guild. Perfect for a quick mining session or visiting the Carpenter’s Shop.
- Recipe: 1 Hardwood, 10 Stone, 10 Fiber.
- Warp Totem: Farm (Foraging Level 8): Teleports you directly to your farmhouse. Highly useful when your energy is critically low deep in the Skull Cavern, allowing you to escape before passing out.
- Recipe: 1 Hardwood, 20 Fiber.
The Island Totem: Late-Game Utility
Introduced in version 1.5, the Island Totem provides instant transportation to Ginger Island.
- Recipe: 1 Hardwood, 1 Dragon Tooth, 5 Ginger.
This totem is a massive quality-of-life improvement for players who frequently travel between the mainland and the Island to check on crops, manage the Volcano Dungeon, or visit the Island Trader. It completely bypasses the 1,000g boat fee and the loading screen travel time.
Strategic Comparison
| Totem Type | Unlock Requirement | Primary Use Case | Key Resource Cost |
|---|---|---|---|
| Rain Totem | Foraging Level 9 | Free watering day for mining/foraging focus | Truffle Oil, Hardwood |
| Warp Totem: Beach | Foraging Level 6 | Quick ocean fishing or tide pool checks | Coral, Fiber |
| Warp Totem: Mountains | Foraging Level 6 | Fast access to Mines or Carpenter’s Shop | Stone, Fiber |
| Warp Totem: Farm | Foraging Level 8 | Emergency escape from deep dungeon runs | Fiber |
| Island Totem | Ginger Island (Volcano Dungeon) | Bypassing boat fees and travel time to the Island | Dragon Tooth, Ginger |
Pro Tips for Totem Usage
- Batch Crafting: Gather Hardwood and Fiber in bulk during dedicated foraging runs. Crafting 10–20 Warp Totems at once ensures you always have an emergency escape route in your inventory.
- The TV Synergy: Use the Rain Totem specifically on days when the TV forecast predicts sun, but you have a full field of crops that need watering. This converts a high-maintenance day into a highly profitable mining expedition.
- Inventory Management: Keep at least one Farm Warp Totem in a dedicated hotbar slot during Skull Cavern runs. The 1,000g penalty for passing out is far worse than the minor crafting cost of a totem.


Comments 0
No comments yet — be the first.
Log in or sign up to leave a comment.