









Find and equip a parachute in GTA 6, switch from the armor slot and deploy on PS5 or Xbox. Learn basic descent control and what to check before attempting another jump.
Contents
GTA 6 Parachutes: Prepare, Deploy and Control Your Descent
A parachute in GTA 6 lets you leave an aircraft or descend from a high point. Check your equipment before jumping: a parachute can be ready to use without appearing visibly on the character.
The shared body-armor slot creates another common misunderstanding. Seeing a vest in the item wheel does not necessarily mean no parachute is available. Cycle through the items in that slot first.
Get a parachute
Visit an Ammu-Nation with the appropriate stock and check Equipment or the equipment rack. In the early Key Lento shop, parachutes are displayed on the back-left wall.
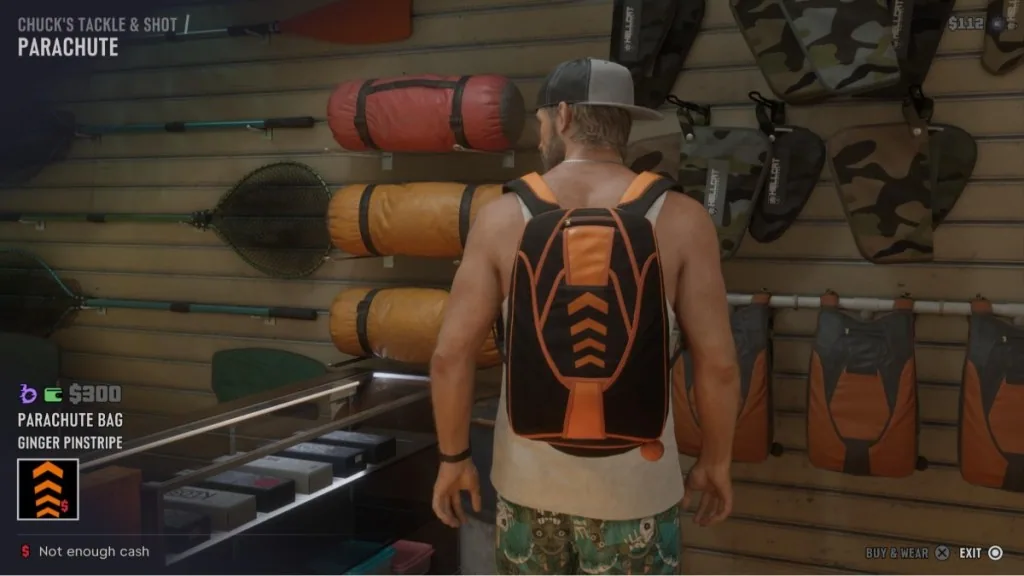
Supplies also appear on some rooftops and at the summit of Mount Kalaga. For a first attempt, buying equipment is more convenient than climbing to a height and only then discovering you are unprepared.

Descending beneath an open canopy.
Select the correct equipment
- Hold L1 on PS5 or LB on Xbox.
- Switch to the item wheel using R1 or RB.
- Select the lower-left slot shared by armor and the parachute.
- If armor is displayed, press R2 or RT to cycle the item.
- Select the parachute and enable it using the displayed prompt.
- Confirm the slot shows the intended equipment before closing the menu.
Do not rely solely on a backpack being visible. The parachute may be equipped without adding a visible piece of clothing.
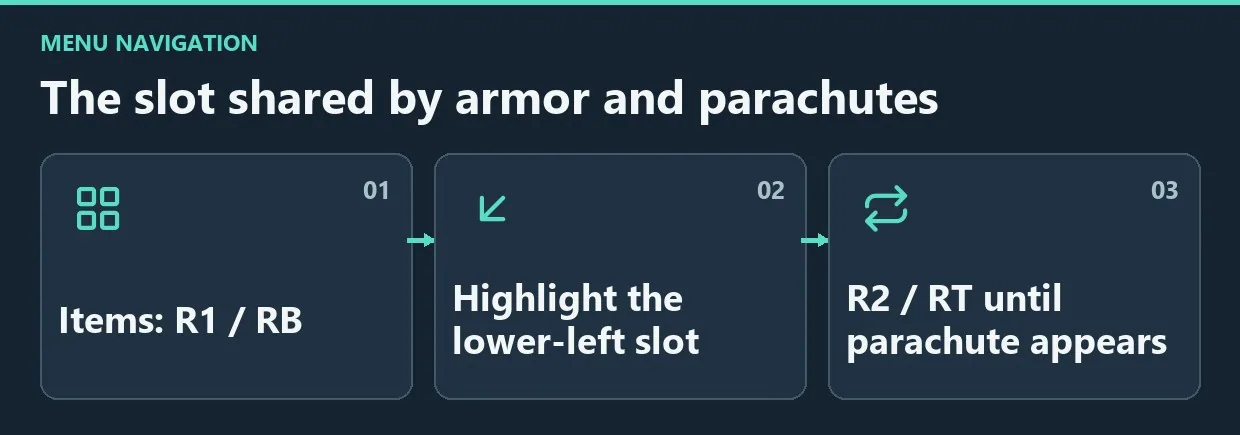
Diagram. The slot shared by armor and parachutes.
Deploy and steer
During a sufficiently long freefall, press X on PS5 or A on Xbox, following the on-screen deployment prompt. Avoid waiting until you are close to the ground: a low jump leaves little time to correct an input mistake.

Start from an open edge with enough height for the jump.
Once the canopy opens, steer left or right toward an unobstructed landing area. Angling forward increases descent speed; pulling back slows it. For your first attempts, choose a broad open space so you can learn the controls without also navigating tightly packed buildings.

A fully inflated orange canopy overhead confirms deployment.
Check your equipment again before the next jump. After use, you may need to collect the parachute again from a store rack or a rooftop supply.
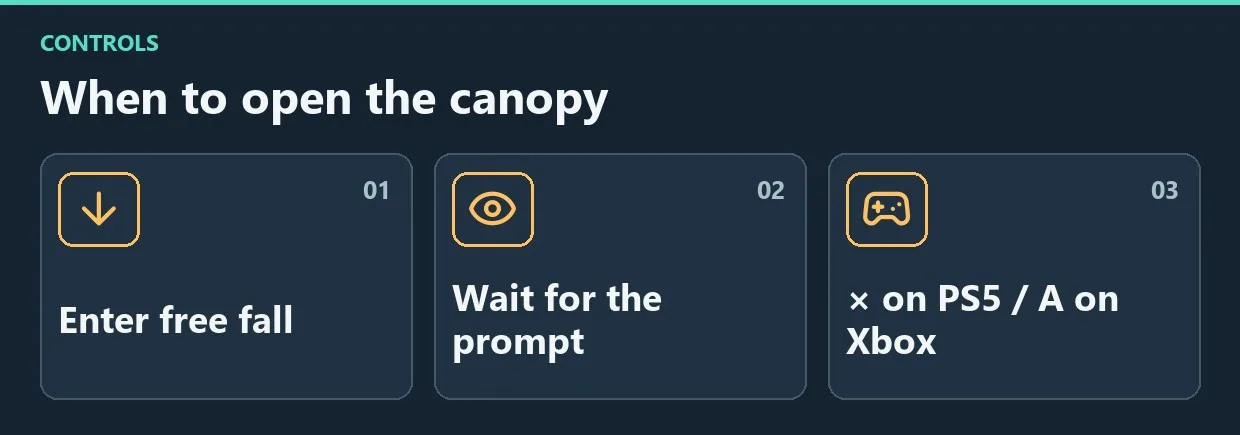
Diagram. When to open the canopy.
Frequently asked questions
Why is there no parachute on the character's back?
It can be equipped as a hidden item. Check the equipment slot rather than judging only by the character model.
Why does the slot show body armor?
Armor and the parachute share a slot. Use the indicated button to cycle through its contents.
Can you jump again immediately?
Check that a parachute is available again first. A successful landing does not replace this equipment check.
Preparation comes before altitude
Acquire the equipment, activate it and pick a landing area in advance. Deploy with time to spare while learning, and practice controlling your descent before attempting more demanding routes.


Comments 0
No comments yet — be the first.
Log in or sign up to leave a comment.