













Follow all three parts of Dubious Provenance in GTA 6. Understand the statue and trust choices, search the antique shop, locate Halifax and finish the chase without missing the extra loot.
Contents
GTA 6 Dubious Provenance: the statue, trust choices and Halifax chase
Dubious Provenance begins with an attempt to value a statuette and develops into a three-part chain. Its important decisions concern access to the dealer’s continuing story, rather than simply choosing an immediate cash reward.
To see the whole chain, hand the item to Benedict Halifax and choose to trust him at the later meeting. Refusing does not stop GTA 6’s main story, but it can close off additional stages and their loot.
Starting the appraisal
During Chapter 3 after Dealer’s Choice, interact with the bag in the Bayside apartment closet. Travel to Evelyn Andrews Antiques in Capri on the western side of the map.
Evelyn refuses the appraisal, but Halifax offers to help and leaves a watch as collateral. This begins the longer story; it is not a final sale of the statue for a fixed amount.
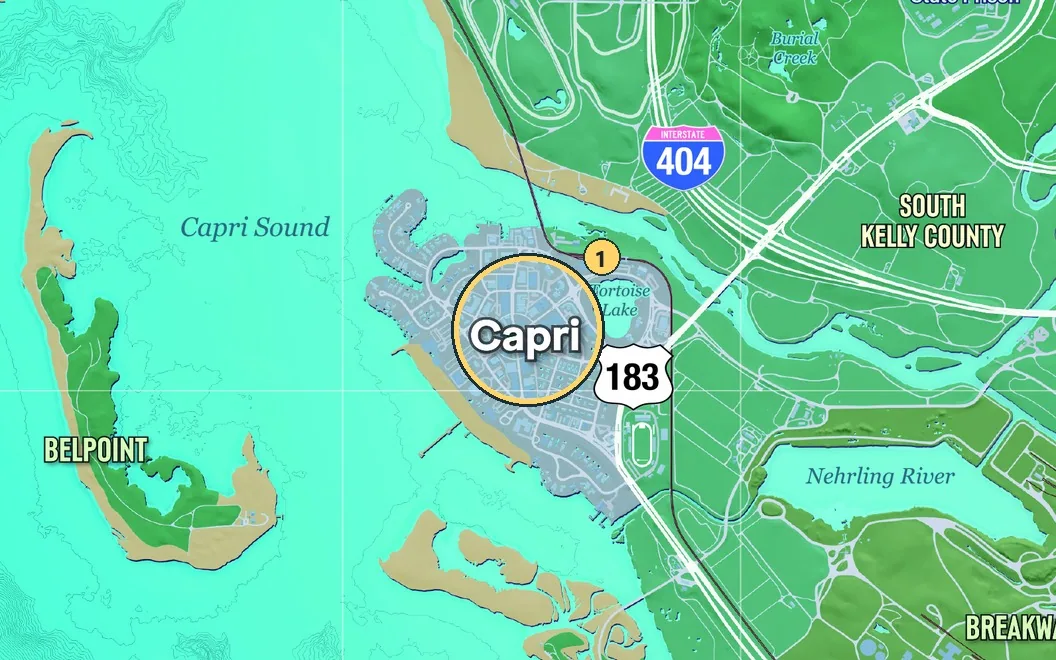
Capri on the west coast. Look for the antique shop and the exterior stairs here.
The two decisions that matter
| Meeting | Choice that continues the chain | What refusal changes |
|---|---|---|
| First appraisal offer | Give him the statue | You can call later, but before Chapter 3 ends |
| Motel confrontation | Trust Halifax | The next part does not unlock |
Handing it over gives you the Crowex Octane “Bobby Ambrose” watch as collateral. If you initially refuse, remember the optional objective to call Halifax. Leaving that unresolved until the chapter ends can cost you parts two and three.
Finding the motel address
When the dealer fails to contact you, return to the antique shop and wait for Evelyn to leave. For the quieter entrance, go behind the building:
- Climb the outside stairs.
- Move onto the lower roof.
- Enter through the window above the air conditioner.
- Open the door for Jason.
- Search the desk drawer in the room’s northern corner.
The clue points to the neighbouring motel. Speak to a resident and approach the upstairs room on its western side. After the encounter, choose to trust Halifax if you want the next part.
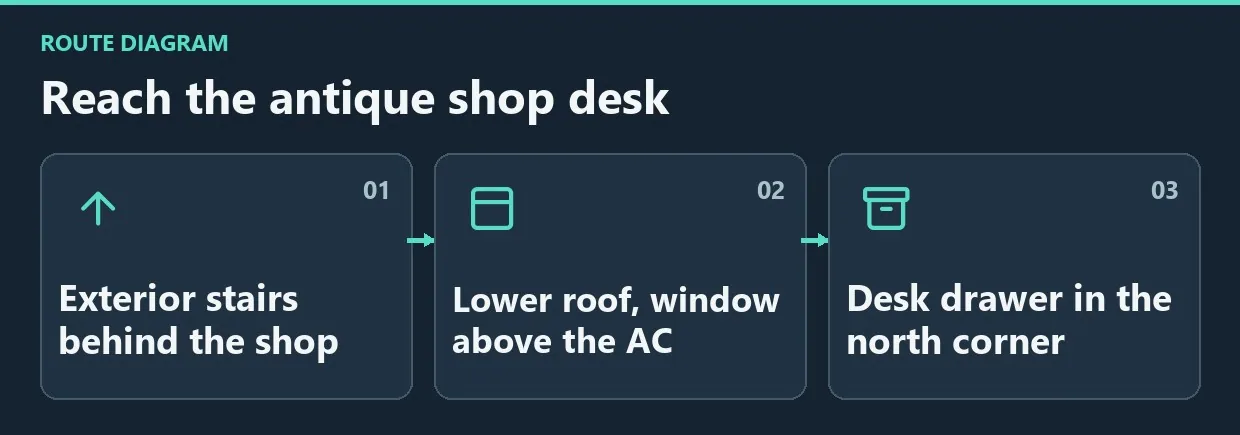
Diagram. Reach the antique shop desk.
Completing the final pursuit
After another silence, Evelyn contacts the protagonists. Return to her for the address of Maryam’s house in the northwest of town. Halifax tries to escape by water.
As Jason, take the Seashark and approach the side of the fleeing boat. Hold Square / X to jump when close enough. After the crash, swim ashore and keep following. When Halifax takes a golf cart, use the bicycle in the yard to continue.
Control later switches to Lucia. Leave the car, use Focus if helpful and stop Halifax with a shot to the leg. Approach him, then call Jason. Once Jason arrives, you recover the statuette and choose whether to kill or spare the dealer.
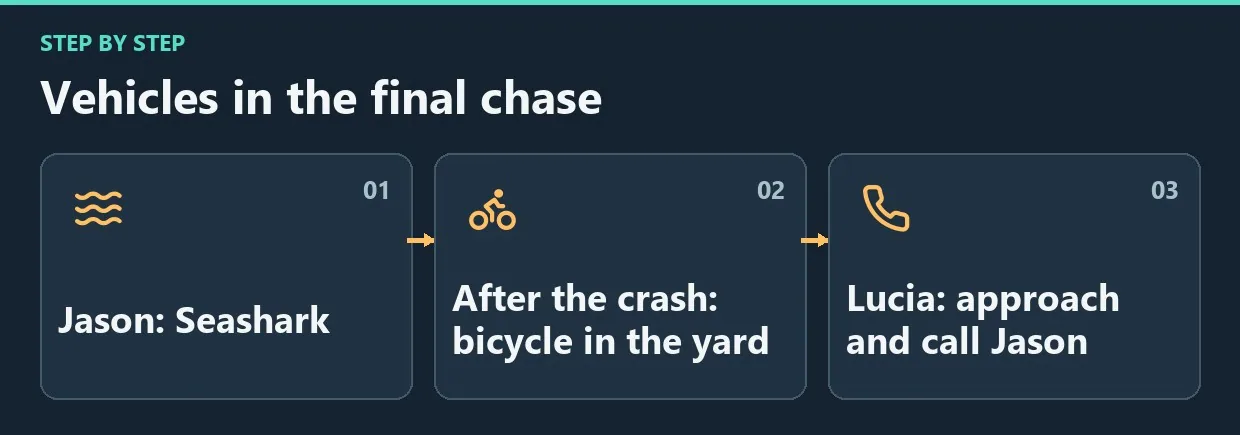
Diagram. Vehicles in the final chase.
Loot after the confrontation
Search the storage container for cash and jewellery worth roughly $2,500. A ’32 Hustler is also nearby and can be kept or sold. Do not leave immediately after the conversation if you want the additional property.
Frequently asked questions
Is refusing the first offer permanent?
No. You can call later and hand over the statue while the relevant Chapter 3 objective remains available.
Does the watch permanently replace the statue?
No. It is collateral, and the later story concerns recovering the item.
Must Halifax die to complete the mission?
No. Sparing him is one of the final choices.
Keeping the full chain available
Pay attention to the optional calls and both trust decisions. During the chase, change vehicles as the objectives change. After the final confrontation, check the container and car separately before leaving.


Comments 0
No comments yet — be the first.
Log in or sign up to leave a comment.