














Plan Hidden Charges in GTA 6 with routes to the east, south and west cell towers. Learn why charge counts differ, when to switch partners and how to finish the rooftop escape.
Contents
GTA 6 Hidden Charges: three rooftop routes for the heist
Hidden Charges prepares The Cartel Heist, and its main challenge is finding the way up each building. A tower marker high above the street does not identify the ground-level entrance, so simply walking toward it can lead to repeated laps around the block.
The number of available charges also varies with the cargo saved in Company Property. This guide covers the full three-target route. If you lost cargo, follow the bags and objectives your mission actually provides.
Starting and understanding the reward
Complete Company Property and Cooties, wait for Karim to contact you, and visit the Stockyard planning room. Prepping the Explosives can appear before the invitation to begin.
Take the prepared van to the marked Downtown garage and park inside. This is the starting point for the rooftop work. Do not abandon the vehicle outside before satisfying its parking objective.
You can work alone or as a pair. Taking both characters cuts down on return trips for bags and improves their relationship. Each in-game charge placed gives more time in the coming heist; this route does not assume a precise number of extra seconds.
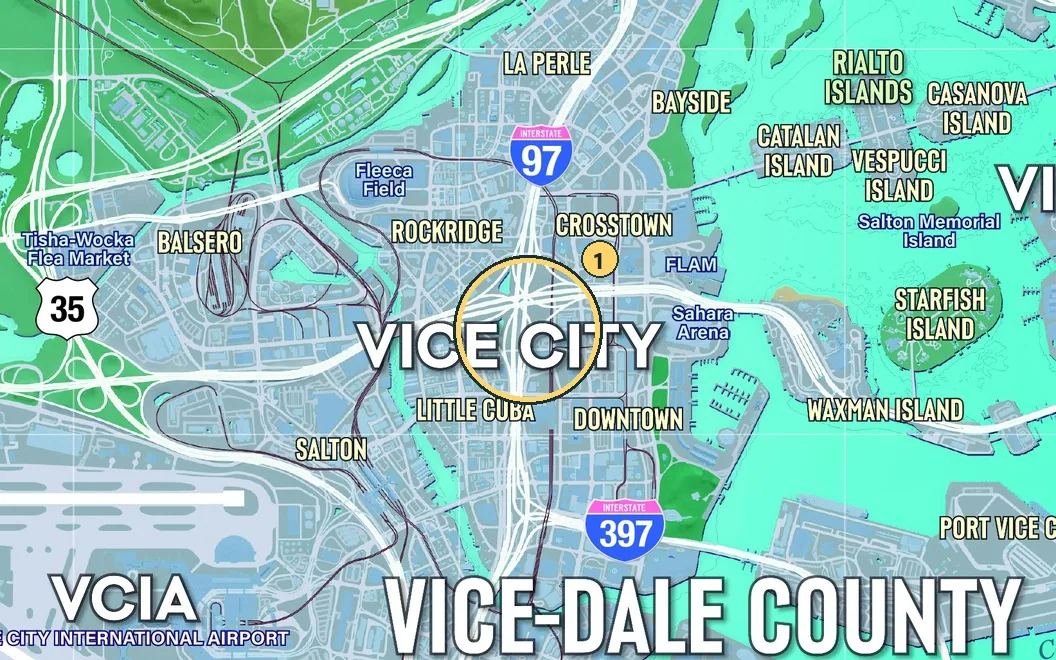
Central Vice City. On arrival, use the separate east, south and west rooftop landmarks in the diagram.
East tower: cross from the neighbouring roof
- Start with the East Cell Tower above the garage.
- Find the main entrance to the building west of it, identifiable by its helipad on the map.
- Take the interior elevator to the roof.
- Climb the steps toward the helipad.
- Cross the walkway to the neighbouring rooftop, reach the tower and use its interaction.
The roof-to-roof crossing is the important landmark. Searching only at street level directly beneath the red tower equipment will miss the route.
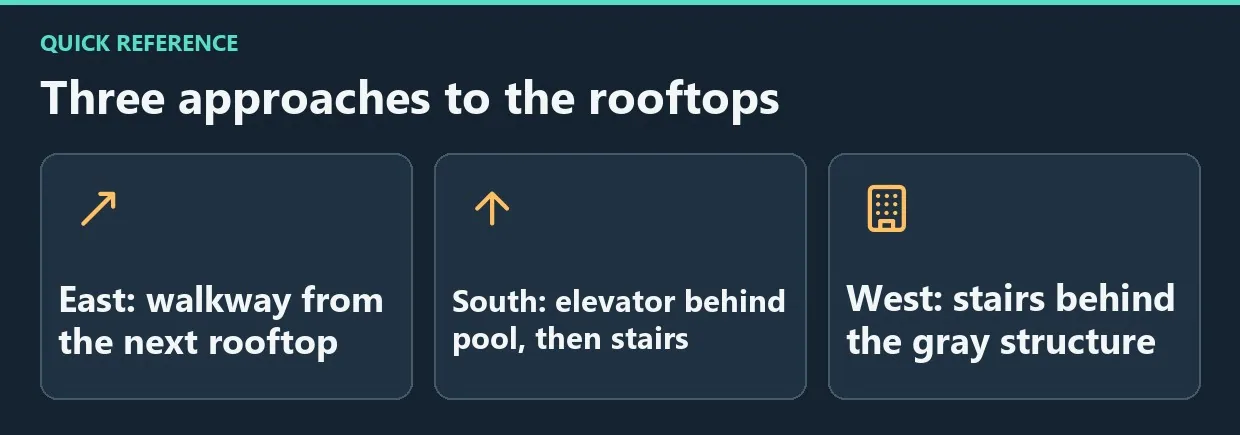
Diagram. Three approaches to the rooftops.
South tower: pool, elevator, ladder
Switch to your partner if working together. Go past the pool to the elevator, ride up and use the rooftop ladder to reach the tower. After completing its interaction, check whether another installation objective remains.
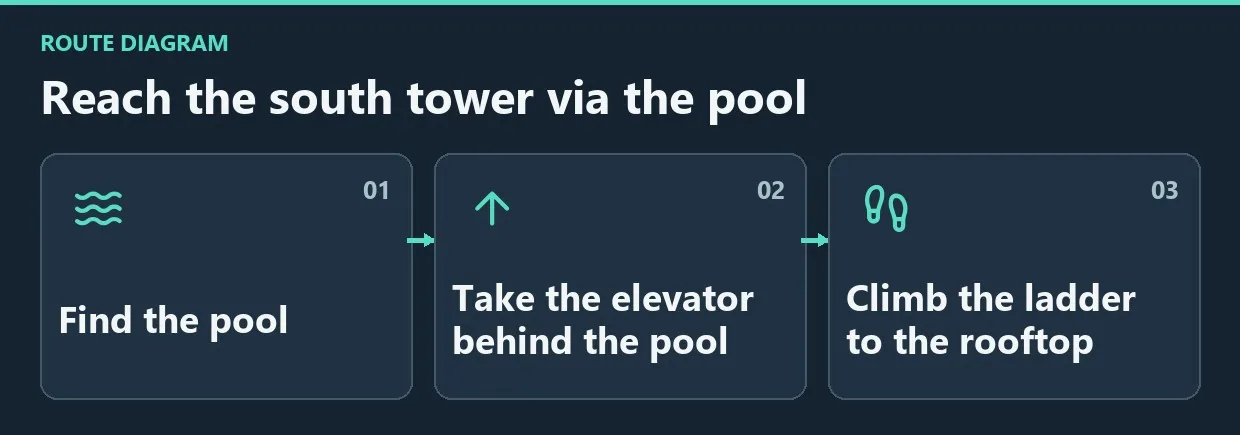
Diagram. Reach the south tower via the pool.
West tower and the escape
If a third bag is available, collect it from the van. Enter the target building through the construction area on its north side. The elevator is inside on the left. Workers can report trespassing, so avoid lingering downstairs.
On the roof, go around the far side of the grey structure to locate its ladder. Complete the marked equipment interaction, then leave the search area. If you do not already have a parachute, check the rooftop box before jumping. The assignment ends after you escape and the police search stops.
Frequently asked questions
Why do I have fewer than three charges?
The supply depends on the cargo boxes preserved in Company Property.
Must the east tower come first?
No. Starting there is convenient because it is close to the van.
Why is the mission still active after the final marker disappears?
You still need to leave the area and end the police search. Waiting on the roof does not finish that objective.
Remembering the three approaches
Associate each tower with its access route: the helipad walkway, the elevator beyond the pool, and the northern construction entrance. Those three landmarks solve most of the mission’s navigation problems.


Comments 0
No comments yet — be the first.
Log in or sign up to leave a comment.